")
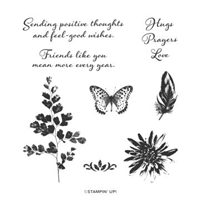
Welcome to our monthly Casually Crafting Blog Hop! This month’s theme is New Year, New Technique and I chose one of the wonderful products from the NEW Mini Catalogue – Gilded Leafing and paired it with the stunning Positive Thoughts Stamp Set from the Annual Catalogue

Casually Crafting Design Team Blog Hop
Who are we? The Casually Crafting design team are a group of Stampin’ Up demonstrators, that just love to stamp when ever we can.
It’s no secret, that we particularly love the type of cars that are simple and easy to make with just a few products, so they are ideally suited to a beginner or casual crafter. Sometimes, we will add a wow project that is a little more stepped up.
We will be sharing our ideas on the 3rd Friday of each month and you can hop around the group and gather loads of inspiration. So grab yourself a cup of your favourite beverage, sit back & enjoy the hop!
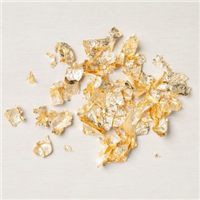
So what is Gilded Leafing?
Gilded Leafing is uber thin pieces of Gold leaf. It comes in a tub which is jammed packed with product and you can see it live on my FREE Wednesday Craft, Connect and chat session on Facebook along with me making these cards. This session is where I play with new products and stamps and is unscripted and raw so anything can happen! It really did! I had gold flakes everywhere by the end, but it was great fun. The cards in these sessions are rarely if ever really planned I just grab a few items from my stash and start to play. This is what I can up with this week!
I have some top tips or lessons learnt from my play at the below that are definitely worth a read before you start!
Gilded Leafing with Positive Thoughts
For my first card I showed two techniques with the Gilded Leafing.
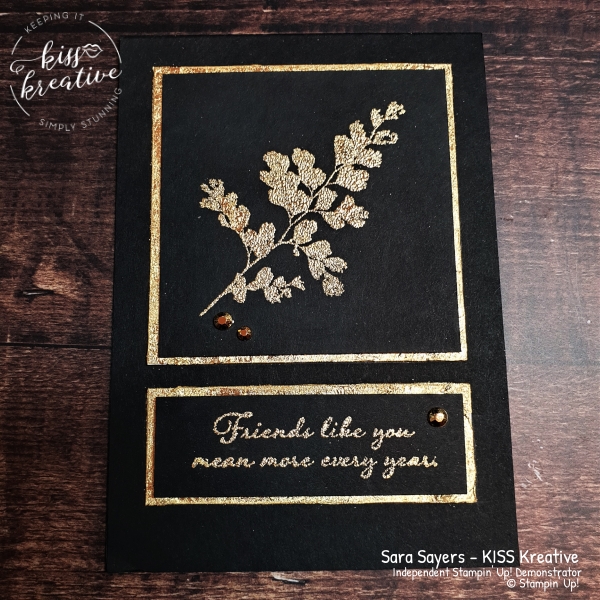
Gilded Leafing with Heat and Stick
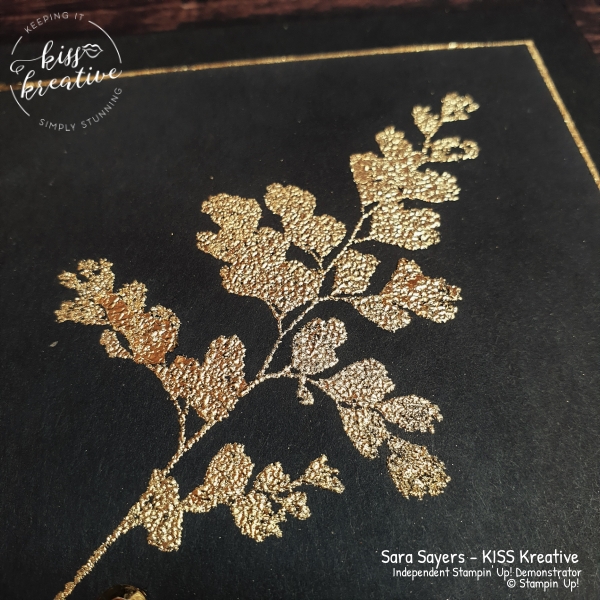
Firstly I used Versamark with Heat and Stick for the fern. Once this powder is heated your image is slightly sticky and allows you to add the flakes. Its super easy and creates such a shiny beautiful effect. Don;t expect the finished image to look smooth. The nature of the flakes means you will see lines and lumps and bumps where the powder has melted. It’s the beauty of the technique.
As you can see from the picture below you can really pick up some amazing detail So I repeated the process with the Sentiment
Gilded Leafing with Tear Tape
For the second technique I grabbed the second layer of my card & edged the Basic White card with Tear Tape before dipping into the golden flakes. This is a really quick and easy way to use the flakes if you don’t own heat gun or don’t have access to heat.
This technique really packs a punch and using this method would highlight any area of your project
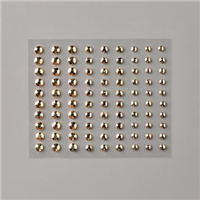
Once assembled finish the card with a few Gilded Gems.
Measurements for Simple Gilded Leafing cards
- Base: Basic Black – 29.7 cm by 10.5 cm scored at 14.9 cm
- First Layer: Whisper White – 8.5 cm x 8.5 cm & 8.5 cm x 3.0 cm
- Second Layer: Basic Black – 8.0 cm x 8.0 cm & 8.0 cm x 2.5 cm
Faux Black Ice with Positive Thoughts
I have no idea where this idea came from, but in my Facebook Live I wanted to show my final technique and as I have not seen it anywhere else (as yet!) I decided to call it the Faux Black Ice Technique
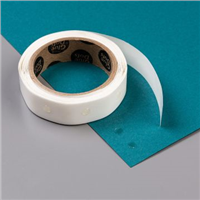
Gilded Leafing with Adhesive Sheets
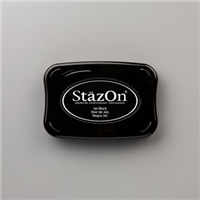
For the final technique I stamped the Dry Brush image onto a piece of Window Sheet using Black Stazon.
TIP: because the image is so big and I wanted a good clear image I used the Stamparatus in my Facebook Live, but you could use an F Block instead.
I gently & quickly dried the Stazon with my heat gun before adding a piece of pre-cut Adhesive sheet on to of the inked side.
Add the flakes and really gently remove the excess flakes so you don’t scratch off any of the adhesive from the Window sheet. then you can seal the flakes by gluing to a piece of Basic Black card stock.
It really looks like a Black Ice Technique, but of course no heat is required apart from gently drying your ink so its a really easy alternative.
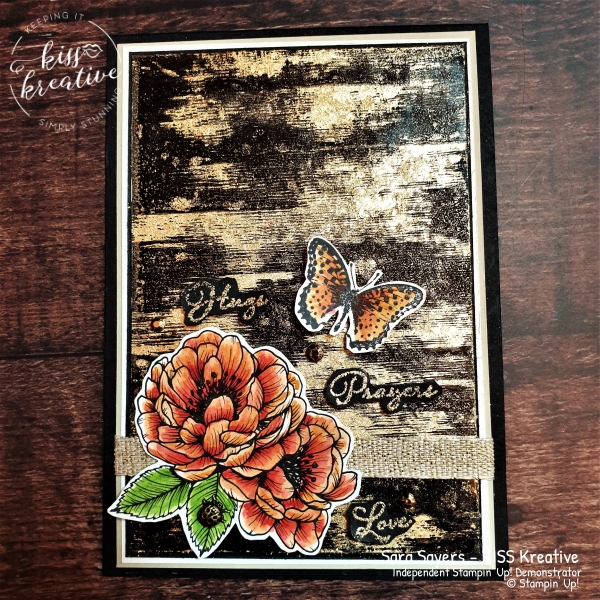
Easy colouring with True Love DSP
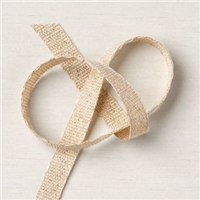
To decorate add a piece of the beautiful Fine Art Ribbon. It has a gorgeous linen look with fine gold threads running through it so was perfect for this project.
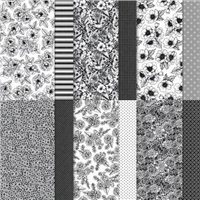
The butterfly was stamped with Tuxedo Black Memento Ink. However the floral image is not stamped, but a fussy cut piece of the True Love DSP, which I coloured with Blends! Easy peasy!
The sentiment is stamped with Versamark and gilded with the flakes, which is then fussy cut. I found that the warmth of my hands melted the heat and stick slightly so the flakes came off a little so my recommendation would be to die cut or lightly handle your flakes. For more Tips see below.
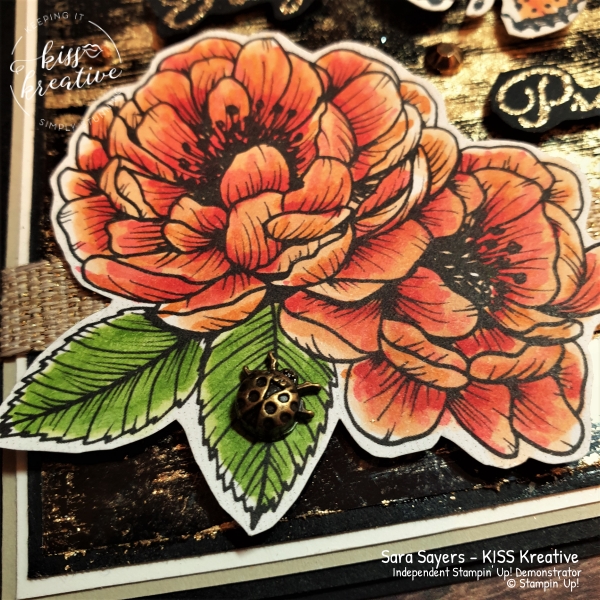
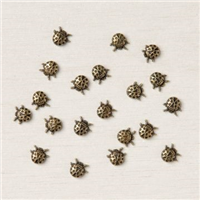
Once assembled add some Gilded Gems and a ladybug trinket…… adorable!
Measurements for Faux Black Ice Technique Card
- Base: Basic Black – 29.7 cm by 10.5 cm scored at 14.9 cm
- First Layer: Sahara Sand – 14.3cm by 10.0 cm
- Second Layer: Basic White – 14.0 cm by 9.7 cm
- Third Layer: Basix Black – 13.7 cm by 9.4 cm
- Fourth Layer: Window Sheet – 13.4 cm by 9.1cm
- Butterfly: Basic White – scrap
- Sentiment: Basic Black – scrap
Top Five Tips for using Gilded Leafing!
- Make sure you have plenty of room on your table/desk! These flakes are super light and can get everywhere! so keep the lid on or use a piece of paper to cover the flakes when not in use. Ask me how I know!
- If you have space decant the pot into a larger vessel say a plastic sealable box to hold them. This will make it easier to keep the flakes together
- Use a firm sponge to brush off the excess flakes. The Stampin Up sponges are perfect for the job
- Don’t rub too hard or you will remove the flakes, especially when using Heat and Stick powder.
- Try not to overhandle the Gilded Leafing when using Heat and Stick powder. I found that the heat from my fingers was enough to lift the gilding off again when fussy cutting my sentiments.
Voila!
Casually Crafting Blog Hop
I had great fun making these projects. So, please do leave me a comment, because I would love to know which one is your favourite.
If you would like to know more about any of my projects please do get in contact and I would be happy to help you
You may have arrived from Hilary’s blog or started here, so please do hop onto the next blog. Next up is the very talented Barry. Just click on the photo and it will take you straight there.

and the rest of the blog roll
 |  |  |  |
Thanks for looking
Stamping Hugs
Sara
- Shop Stampin Up
- Request a catalogue
- Buy a starter Kit
- Find out about joining our group of Hugs Kisses Stampers
- Use the Host Code for a Free Gift – ZKGHBEDW


Love both these cards Sara, never tried the black ice technique. Need to do some research on how it’s done, unless you have a tutorial already? TFS
Thanks Barry x
Amazing cards. I especially LOVE the black ice one! Gotta give that a go! Thanks for inspiring!
Gorgeous cards Sara! Love the gilding on the black, so effective, and the last card looks like a fun technique to try!